Ingredients
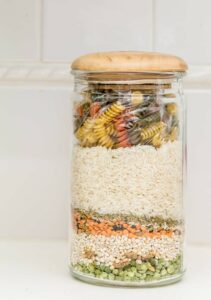
- 1-pound package 16-bean soup mix
- 1 pound ground beef, turkey, pork, or venison
- 1 package or 1 to 2 tablespoons chili seasoning or taco seasoning
- 8-ounce can tomato sauce
- Hot water or broth
- Salt
Directions
- Soak beans in one of two ways. Cover beans with water overnight, then drain. Or, do a quick soak by covering beans with water and bringing to a boil. Boil for 1 minute, then turn off stove. With lid on, let sit for 1 hour, then drain.
- Boil beans for 5 minutes in a large pot. Drain water.
- Cook meat over medium heat in a heavy pan until no longer pink. Drain, and then crumble meat.
- Combine beans with meat, seasoning, tomato sauce, and hot liquid. Bring to a boil, and then simmer for 5 minutes. Alternatively, if you use ground chicken, you can use chicken broth instead of water.
- Divide solids evenly between jars to 1 inch headspace. Add 1⁄2 teaspoon salt to each quart, or 1/4 teaspoon salt to each pint.
- Remove bubbles. Process at 11 pounds of pressure for 90 minutes for quarts, or 75 minutes for pints.
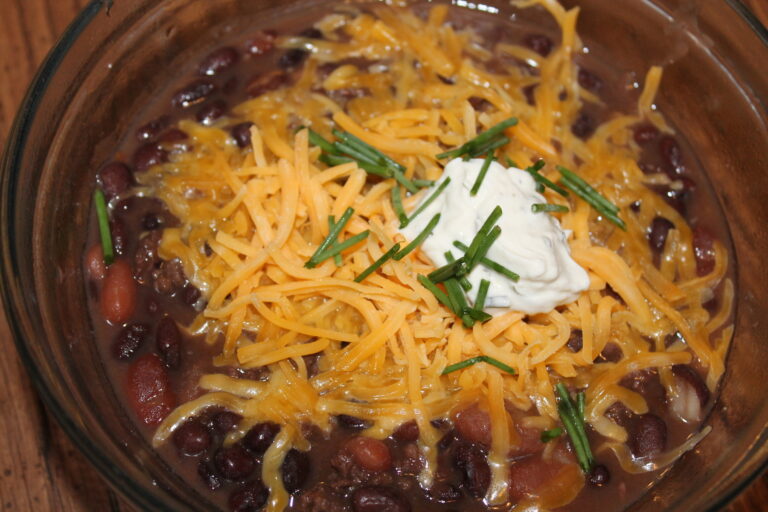
- When ready to eat: heat contents in a large saucepan. Add toppings, such as sour cream, cream cheese, shredded cheese, and diced green onions. Serve over baked potatoes, or pour into a pie shell and bake for a chili pie. Eat with crunchy tortilla chips or hearty cornbread.
Make this home-canned 16 Bean Chili recipe for a quick and easy dinner that will fill everyone up and satisfy the taste buds.
When ready to eat, the 16 Bean Chili in a large saucepan. Add toppings, such as sour cream, cream cheese, shredded cheese, and diced green onions. Serve over baked potatoes, or pour into a pie shell and bake for a chili pie. Eat with crunchy tortilla chips or hearty cornbread.
There are five recipes in this series, be sure to follow the links for the others: Hamburger and Potato Soup, Chicken Pot Pies in a Jar, Roasted Squash Soup with Bacon, and Canned BBQ Chicken.
General Instructions for Canning 16 Bean Chili Recipe
- Carefully read the manual for your pressure canner.
- You can reuse rings and jars, but don’t reuse lids.
- Wash jars, rings, lids, and jar lifter with hot, soapy water, and then rinse them.
- Check all jars for damage. Discard any jars with chips or cracks.
- Keep jars hot (you’ll be adding hot ingredients and won’t want the jars to break under thermal shock).
- Add the amount of water indicated by your pressure canner instructions to the canner. You should have 2 to 3 inches of water in the canner. Add 2 tablespoons of white vinegar to minimize any water spotting on the jars.
After pressure canning, remove the jars (which will still be hot) and place them on a towel to finish cooling. This can take from 12 to 24 hours. Once at room temperature, remove the rings, finger-test the seals to make sure they’re tight, and eat anything that hasn’t sealed immediately. The rest can be stored in a dark, cool place for up to a year.
Tips and Safety When Canning 16 Bean Chili
With each canning recipe, keep a few things in mind. When filling your jars, fill them evenly with solids, and add liquid to the required headspace. (Headspace is the distance between the surface of the food and the underside of the lid.) Don’t mash or purée foods that’ll be canned. Gently place the food in jars. Add very hot liquid (boiling or having just been boiled) after your solids. Broth or hot water will work. Remove bubbles from the jar with your utensil before topping with lids and rings. Don’t add too many spices or spices that tend to become bitter (such as sage) before canning; you can always add those when you’re reheating meals. Before adding the lids, wipe the rims with a vinegar-dampened cloth to remove grease. Place the hot lids on top, and finger-tighten the rings. Then, put jars on the rack inside the hot canner with the vent port off, tighten down the lid, and turn the heat to high. Allow steam to escape from the port for 10 minutes before you replace the weighted gauge. Wait for the canner to come to the recommended pressure before you start timing and pressurizing.
Read the manual for your pressure canner. It’ll give you the pressure and time requirements based on your canner and altitude.
Jenny Underwood is a home-schooling mama to four lively blessings. She makes her home in the rural foothills of the Ozark Mountains with her husband of 20 years. You can find her reading a good book, drinking coffee, and gardening on their small fifth-generation homestead. She blogs at www.InconvenientFamily.com.