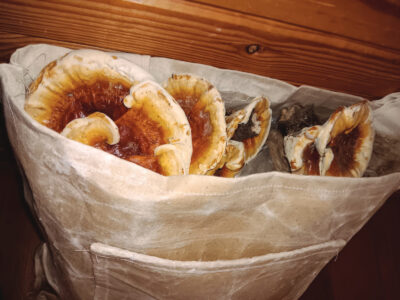
I’ve always wanted a foraging backpack, so I decided I’d just make my own. I wanted one made from waxed canvas that could be worn on either my front or back. I thought it’d also be extremely beneficial to be able to dump the contents easily.
This backpack uses regular cotton canvas that I waxed myself with beeswax, and clips to close the top and bottom of the bag. If you’d like to wax your canvas yourself, see “Waxing Your Canvas” below for a quick how-to.
Tools and Materials
- Sewing machine or needle and thread
- Canvas (waxed optional)
Getting Started Making the Cut(s)
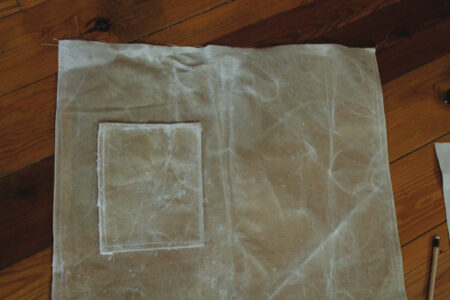
1. Cut two 18-by-24-inch pieces of cotton canvas (these are the front and back panels).
2. Cut one piece measuring 8 by 10 inches (pocket).
3. Cut eight strips of material 1 by 2 inches long (loops for snap clips). Alternately, you can use 2-inch- long paracord or 1/4-inch-wide by 2-inch-long leather straps.
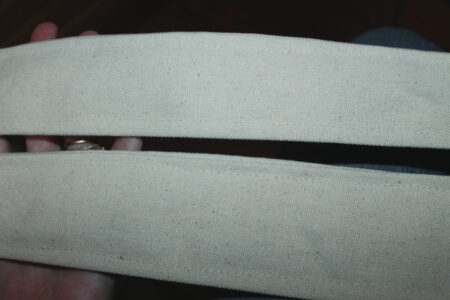
4. Cut two pieces 8 by 36 inches for the straps.
Making the Foraging Bag
First Seams
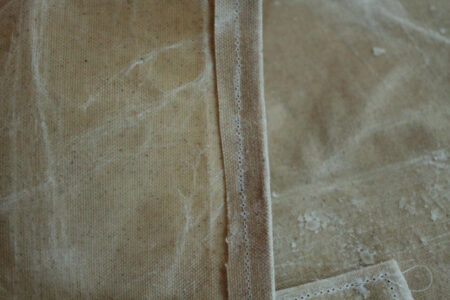
1. Turn under a 1-inch hem across the top and bottom of the panels. Note: Pressing the seams isn’t necessary with waxed canvas. You may simply fold over the seams, and they’ll stay in place because of the wax.
2. Measure 3 inches from each side of the top of the back panel, along the hem, and mark. Then, hold the canvas against your torso, and from the bottom, measure up to waist level and mark. These marks are where your straps will attach.
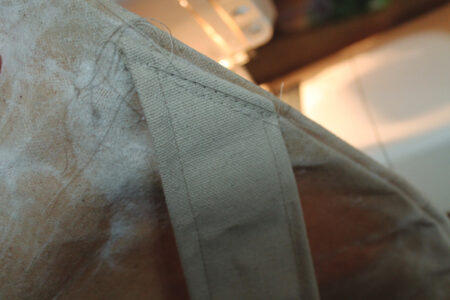
3. See “Strapping Up” (Steps 14 through 17) for strap instructions, and attach the top of the strap under the hem of your back panel, pulling it up and over the hem to the right side. Pin in place.
4. Sew a 1/2-inch seam across your panels, top and bottom (this hem will secure your strap).
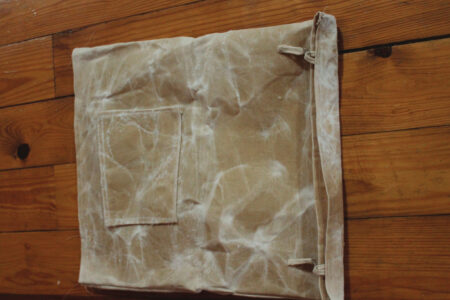
The Pocket
5. Fold and sew a 1/2-inch seam around the pocket piece.
6. Pin in the center of the front panel, 4 inches from the top.
7. On the two sides and the bottom of your pocket, sew 1/4 inch from the edge, then again 1/2 inch from the edge. Sew a double seam in the middle of the pocket from top to bottom, forming two pockets. If you want only one larger pocket, leave that last step out.
The Loops
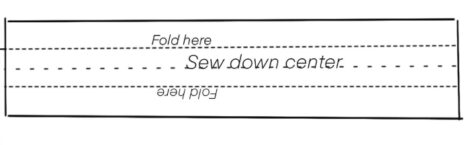
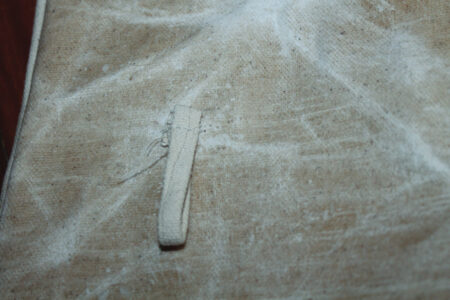
8. Fold each of the eight loop pieces to meet in the middle, then fold again in half (your loop strips will be about 1/3 inch wide). Sew down the centers.
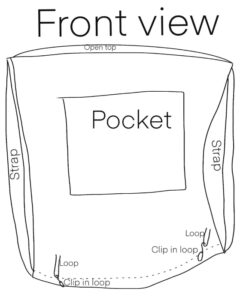
9. Measure in 2 inches from each side on the bottom of the back panel. Slide a clip onto each of your loops, and sew a loop onto the inside bottom (where your hems are) of each side of the back panel.
10. On the front panel, measure up 6 inches from the bottom and over 2 inches from each side. Attach a loop to both places. Repeat on the back panel. This is how your clips will close the foraging bag.
Pinning Panels
11. Place the front and back panel together, right sides facing each other, and pin in place.
12. Sew both sides, but don’t sew the top or bottom together.
13. Turn the panels right side out. Turning the bag right side out is difficult with waxed canvas but can be done, albeit with creases.
Strapping Up
14. To determine how long your straps should be, measure across your chest from the top of your shoulder to the opposite side at your waist. Allow 2 to 3 inches for extra clothing. Trim any excess.
15. Fold each strap piece to meet in the middle, then fold again in half (your strap will be about 2-3/4 inches wide).
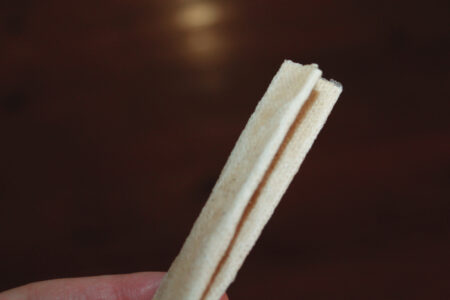
16. Sew 1/4 inch from the edge around the strap and then down the center. Repeat on other strap.
17. Fold edge 3/4 inch on unattached raw end and then sew 1/2 inch from edge.
18. To attach a loop to the free end of the strap, slide a snap clip onto the loop piece. Then, sew the ends of the loop onto the strap in the middle of the top of the strap. Repeat on the other strap.
19. Sew the strap in place on your waist-level mark, sewing a double seam. Repeat on other side.
An alternate way to make this pack is to sew the bottoms of the panels together. This removes the extra steps of adding clips and loops. You can’t dump the contents as easily, but you can place a removable bag inside the pack.
This pack is wonderful to use when picking garden produce or foraging for wild edibles. Happy picking!
Waxing Your Canvas
You can wax your canvas either before you sew or after. You’ll get a better coating if you do it before, but it will be much more difficult to sew; it’s rather like sewing plastic. To wax the canvas before sewing, place your pieces of canvas onto a cookie sheet lined with parchment paper.
For Waxing
- Beeswax
- Canvas
- Cookie sheet
- Spatula
- Parchment paper
- Spread beeswax onto the material.
- Fold the larger pieces in half.
- Place them on the pan and in an oven preheated to 170 F.
- Heat until beeswax fully melts. If necessary, spread out melted wax with a rubber spatula.
- Repeat with each piece.
- Allow to fully dry and then remove any excess wax.
Alternately, you may melt the wax in a small saucepan on a melt setting on the stove and pour over the pieces, spreading with a rubber spatula. It’s especially important that you line any surfaces with parchment paper, otherwise you’ll have wax everywhere. As you use your pack, you may need to rewax your canvas. To do this, simply melt the wax in a pan on low on the stovetop and paint on with a paintbrush.
Jenny Underwood is a homeschooling mom to four lively blessings. She lives on a fifth-generation homestead with her husband of 24 years. You’ll often find her in the garden or curled up with a good book and a great cup of coffee.


