Learn how you can craft a one-of-a-kind DIY pine branch chair using this detailed guide on constructing your own.
The garden is a place for enjoyment and relaxation, but it’s also a place where my creativity thrives. So when my friend Eva told me about the beautiful garden furniture she grew up with — made of gnarled branches — I decided to try making furniture with what was lying around my property.
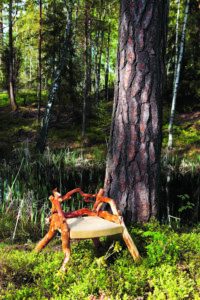
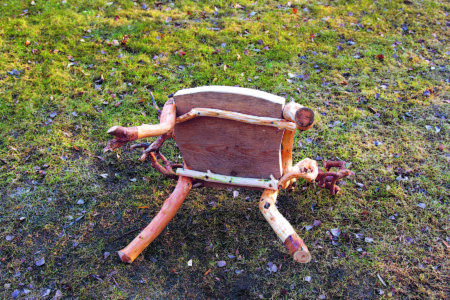
During an autumn storm, several trees fell around our house. The logs were put to use, but the branches would’ve been thrown out or burned for firewood. Instead, I saved a few and built myself a rustic chair. While it has no straight lines, the chair is comfortable, rugged, and charming. It looks right at home in a corner of my garden by the blueberry bushes.
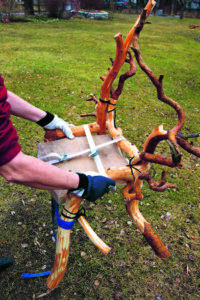
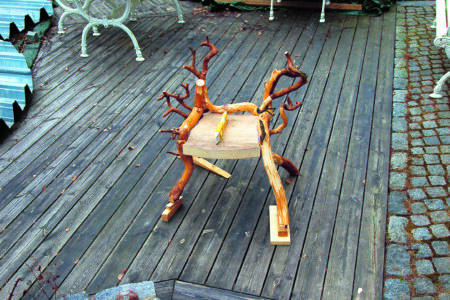
When building a chair out of tree branches, you can’t really follow a detailed spec drawing. Instead, you’ll have to work with the material and allow the chair to grow organically, step by step. To see what the chair will ultimately look like, you can tie its parts together with string or straps at the beginning. If you’re not satisfied with the shape, you can look for other branches that fit together better.
DIY Pine Branch Chair Tools & Materials
Directions
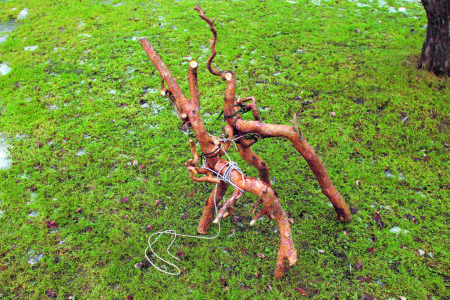
1. Choose two branches of equal thickness that are naturally bent; these will serve as the front legs and side pieces. Piece these together with branches between the legs and the rear, and secure all in place with string or straps. Make sure the legs are a little longer than needed so you can trim them down to size later, as necessary.
Note: Oak and pine branches are usually crooked and gnarled, which makes them excellent for building chairs. Since pine trees had fallen around our house, that’s what I used.

2. Select two fairly straight branches for the crossbars that the seat will rest on. Fasten one crossbar between the front legs and the other between the back legs.
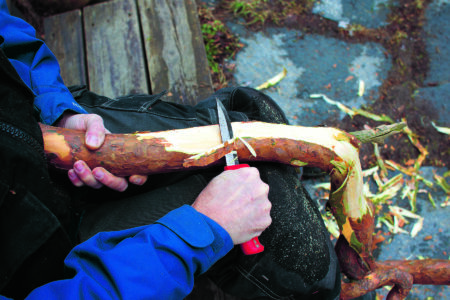
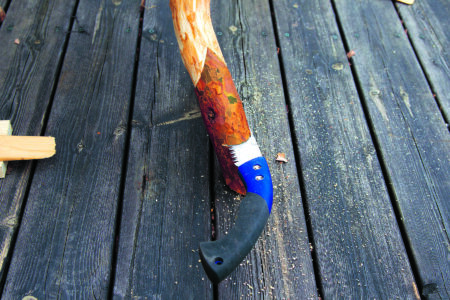
3. Disassemble the chair, and remove the bark on the branches with a knife.
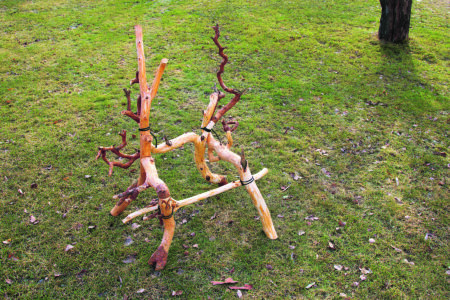
4. Reassemble the branches, and tie the chair together with string.
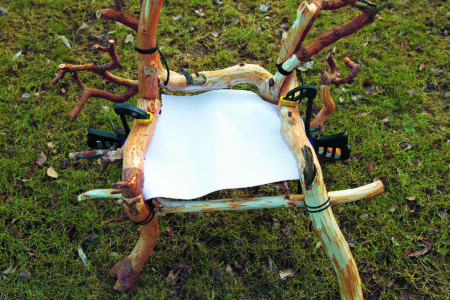
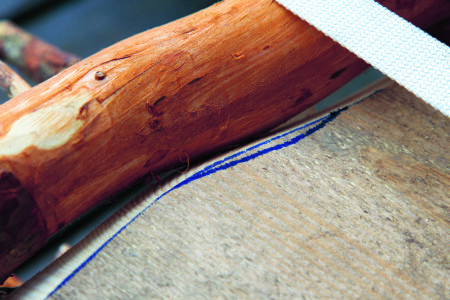
5. Cut a piece of paper to fit inside the legs and back of the chair. Make the paper approximately the same shape as the frame’s outer line. Position the paper under the frame and attach it with clamps.
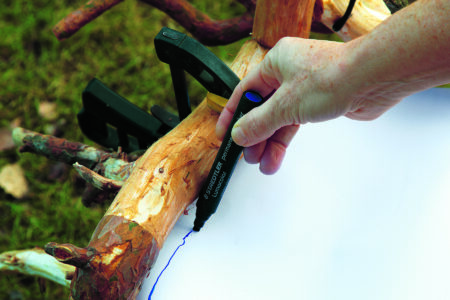
6. Trace along the frame’s inner edge on the paper template.
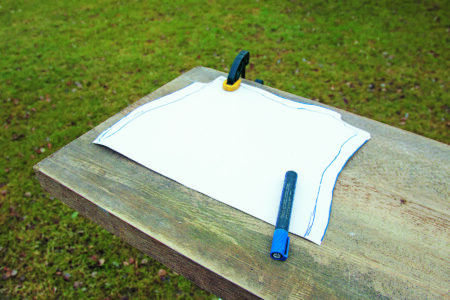
7. Remove the template from the frame. Draw a second line on the paper about 1 inch outside the first one. Cut along the outer line.
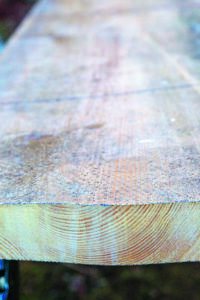
8. Turn the plank so the growth rings point up. Otherwise, the seat will become bowl-shaped when it settles.
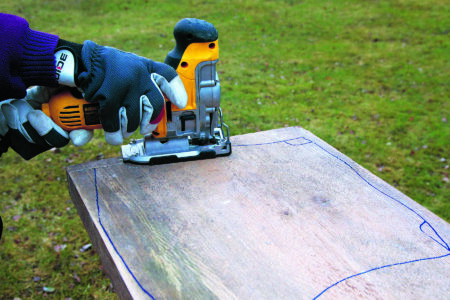
9. Mark the paper template’s outer lines on the plank, and cut out the seat with a jigsaw.
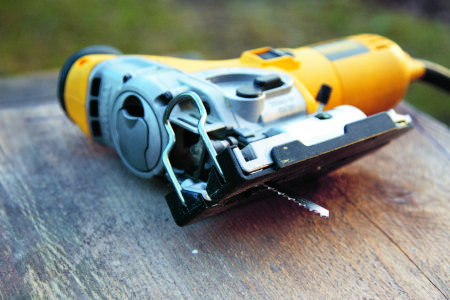
10. Adjust the blade on the jigsaw to a 45-degree angle.
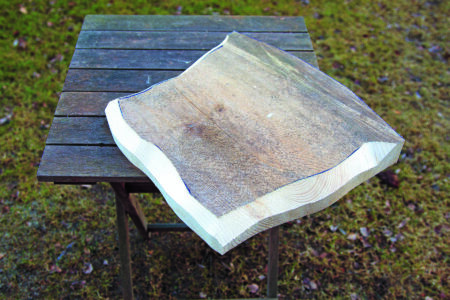
11. Miter the top edge on the seat’s back and side edges.
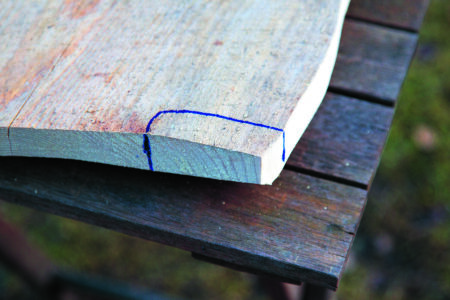
12. On the seat, mark out how much wood must be removed to insert one of the legs. Cut out the portion with the jigsaw, and test to see if the leg fits in the hole. Deepen the hole as needed. Repeat for all legs.
13. Place the seat on the crossbars, miter side up, and tie the chair together with string and straps.
14. Try to fit the seat into the frame. Mark the points where the seat must be tweaked, and trim it until you’re satisfied.
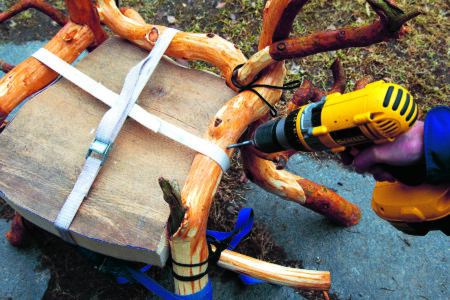
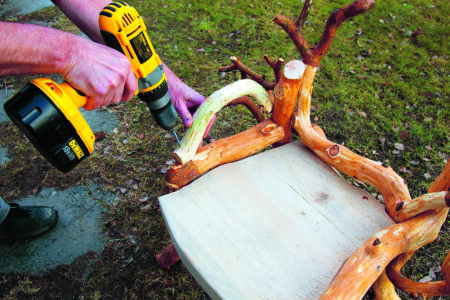
15. Fasten the seat to the top edge of the frame with self-tapping screws.
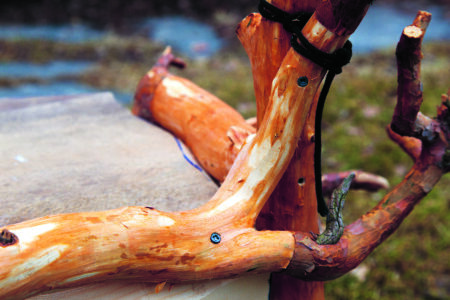
16. Ensure that the seat rests firmly on the crossbars. Screw the crossbars to the legs. Then, screw the legs, the back edge, and the side branches so the legs are sturdy.
17. From below, drill screws through the crossbars into the seat to strengthen the chair.
18. Turn the chair upright and put shims under the chair’s legs to make it level. Check both directions to make sure the seat is level.
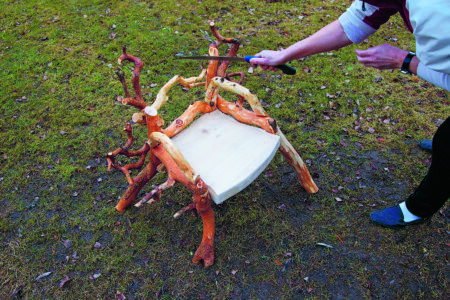
19. Mark the ends of the legs that are too long, and then trim with a pruning saw. Check that the chair seat is level.
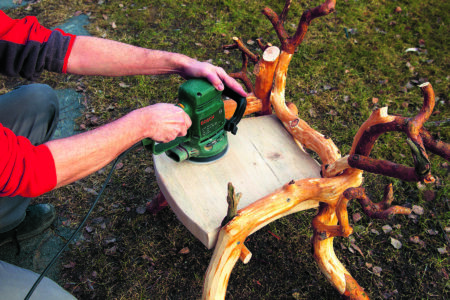
20. Sand the seat smooth. If you don’t have access to an electric sander, use sandpaper.
21. Choose two rounded branches to serve as armrests. Remove the bark, and cut the branches to fit the chair. Screw the armrests into the frame.
22. To decorate the back of the chair, find a lightly bent branch and remove its bark. Screw the branch to the back of the chair. Trim off any small branches, and the chair is finished!
Marianne Svärd Häggvik is an engineer based in Stockholm and the owner of Heliconia Garden, a garden design company in Sweden. This is an excerpt from her book Rustic Garden Projects: Step-by-Step Backyard Décor from Trellises to Tree Swings, Stone Steps to Stained Glass (Skyhorse Publishing).


